How To Guides · May 21, 2026
How to Prepare and Submit Visa Application Digital Files with TorlyAI’s Document Organisation System
Learn how to use TorlyAI’s AI-driven document organisation system to accurately prepare and submit your final visa application files, ensuring compliance with Home Office and endorsing body requirements.

The Quick Start to Digital File Compliance
Getting your Innovator Founder Visa hinges on perfect digital file compliance. One misnamed PDF or missing figure, and the Home Office might bounce your application. Frustrating, right? This guide walks you through every detail—so your final submission meets Home Office and endorsing body standards, first time. Along the way, you’ll see how TorlyAI’s AI-driven document organisation system turns chaos into clarity. Ready to cut the paperwork hassle?
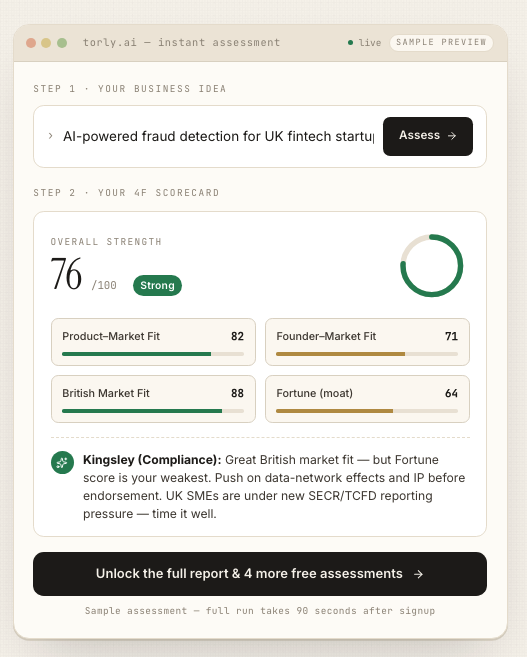
Want to streamline your process? Ensure digital file compliance with TorlyAI’s AI-Powered UK Innovator Visa Application Assistant will give you instant structure, naming checks and real-time feedback. No guesswork. No late nights worrying if you missed a caption.
From setting up your workspace to uploading graphics, we cover key steps:
- Establishing your folder hierarchy
- Naming conventions for PDFs, text files and tables
- DPI requirements for TIFF and EPS graphics
- Final review checklist before hitting “submit”
Follow these steps. Nail your digital file compliance. Then sit back, confident your visa application is in top shape.
Getting Started with TorlyAI’s Document Organisation System
Why digital file compliance matters
Visa officers expect a seamless review process. When your files are scattered, missing captions or mislabelled, it adds friction. That can delay endorsement or even trigger rejection. By focusing on digital file compliance, you show professionalism, speed up indexing (think Google Scholar style metadata) and avoid endless back-and-forth.
Setting up your TorlyAI workspace
Before you prepare anything, create a clear workspace in TorlyAI:
- Log into your TorlyAI account.
- Select “Document Organisation System” from the dashboard.
- Create a project folder named with your business proposal and visa reference number.
- Within that folder, add subfolders:
–01_PDF_Submission
–02_Text_Files
–03_Graphics
TorlyAI will track your progress, flag missing files and remind you of naming rules. Suddenly, digital file compliance moves from chore to breeze.
Step-by-Step Guide to Preparing Your Digital Files
Packaging the complete submission
Your visa submission needs a “web-ready” PDF first, followed by native files and graphics. Think of it as a trilogy:
-
PDF file (web-ready)
– Contains complete paper text, figure and table captions.
– Footers on each page with your project code, surname and page number.
– Ensure no notes or extraneous marks remain. -
Text-only files (print-ready)
– Word or LaTeX formats, single column, double spaced.
– Include title, author info, abstract, full text, references, caption lists. -
Graphics files
– TIFF or EPS formats only.
– Single-file multi-part figures.
– Names likeFigure1.tiff,Fig2a.eps.
Keeping this order—PDF, text, graphics—ensures the Home Office’s portal processes your files correctly.
Naming conventions and file formats
Strict naming matters for digital file compliance. TorlyAI enforces these rules automatically:
- PDF:
VisaApp_[YourName]_Final.pdf - Word/LaTeX:
VisaApp_[YourName].docxor.tex - Graphics:
Figure1.tiff,Fig2.eps
No spaces. No special characters. If you stray, TorlyAI highlights the mismatch and suggests fixes.
Optimising your PDF and text files
Quality control is key:
- Embed all fonts.
- Check hyperlinks.
- Verify table captions list in PDF.
- Number every line in your draft for easy reference.
TorlyAI’s preview tool shows you exactly how your PDF will appear online, “as is”, so you catch errors before upload.
Managing graphics for your visa application
Graphics often trip applicants up:
- Greyscale or colour images: 266 dpi.
- Composite images (text + halftones): 500 dpi.
- Linework: 900 dpi.
- Maximum file size: 15 MB.
Upload graphics with TorlyAI’s drag-and-drop. The system flags resolution issues and advises when colour images will appear in black and white in print versions. That way, you avoid squashed lines or grainy photos.
Tips for Submitting and Verifying Your Files
Final review checklist
Before you click “submit”, run through this TorlyAI-generated checklist:
- Are all captions present in the PDF?
- Do footers match the Home Office format?
- Have you uploaded native files?
- Are all graphics within size limits?
Tick each box. TorlyAI won’t let you skip critical items, so you maintain digital file compliance every time.
Submitting via the Home Office portal
Once your files clear the checklist:
- Go to the Home Office visa portal.
- Select “Submit Final Files” under your application status.
- Upload PDF, then text, then graphics.
- Review the portal’s confirmation page.
With TorlyAI’s file‐naming done, your uploads happen in seconds. No more frantic folder searches.
Confirming receipt and tracking
After submission, the portal sends a confirmation email. Keep an eye on:
- Assigned DOI or reference number.
- Metadata accuracy for indexing.
- Any follow-up requests from the endorsing body.
TorlyAI logs these notifications in your dashboard, so you never miss a deadline or request.
Testimonials
“TorlyAI’s document system transformed my visa application. I went from chaos to completion in under 24 hours. Perfect digital file compliance, zero stress.”
— Samantha Patel, Tech Founder
“I didn’t know court files needed 900 dpi linework until TorlyAI flagged it. That saved me from late corrections and delays.”
— Liam O’Connor, Biotech Entrepreneur
“24/7 support meant my midnight edits were checked instantly. TorlyAI is like a personal visa assistant.”
— Zara Mohamed, HealthTech Innovator
Conclusion
Mastering digital file compliance isn’t magic. It’s about following clear rules, using the right formats and naming conventions, then double-checking everything. With TorlyAI’s AI-driven document organisation system, you’re never alone in the process. The platform guides you step by step, flags errors in real time and keeps your submission on track.
Ready to simplify your visa journey? Accelerate digital file compliance with TorlyAI’s AI-Powered UK Innovator Visa Application Assistant and submit with confidence.
Frequently Asked Questions
What is the UK Innovator Founder Visa?
Source: UK Home Office
How much does the UK Innovator Founder Visa cost?
- Visa application fee: £1,191
- Immigration Health Surcharge: £3,105 (3 years)
- Minimum business investment: £50,000
- Endorsement body fee: £500 - £1,500
- English language test: £150 - £200
Source: UK Home Office
How long does the UK Innovator Founder Visa application take?
- Stage 1 (Endorsement): 6-8 weeks
- Stage 2 (Visa Application): 12-16 weeks
What are the key requirements for UK Innovator Founder Visa?
- At least 18 years old
- Innovative business idea new to UK market
- £50,000 minimum investment
- Endorsement from approved body
- English language (B2 level)
- Sufficient personal savings (£1,270+)
- Business experience or relevant skills
Which endorsing bodies are authorized for UK Innovator Founder Visa?
- UK Endorsing Services (UKES) - General innovative businesses across all sectors
- Innovator International - Scalable, globally-focused businesses with international expansion plans
- Envestors Limited - Investment-ready businesses seeking equity funding
- The Global Entrepreneurs Programme (GEP) - Government-backed programme for tech entrepreneurs (invitation-only)
Note: Many previously authorized endorsing bodies (including Tech Nation, Innovate UK, universities, and accelerators) are now legacy organizations that only maintain existing endorsees and do not accept new applications.
TorlyAI recommends the best fit based on your industry and business stage.Need personalized guidance for your UK Innovator Founder Visa application?
Start Free Assessment