How to Prepare Your Passport Photo and Documents for Your UK Innovator Visa
Mastering Your Innovator Visa Documentation
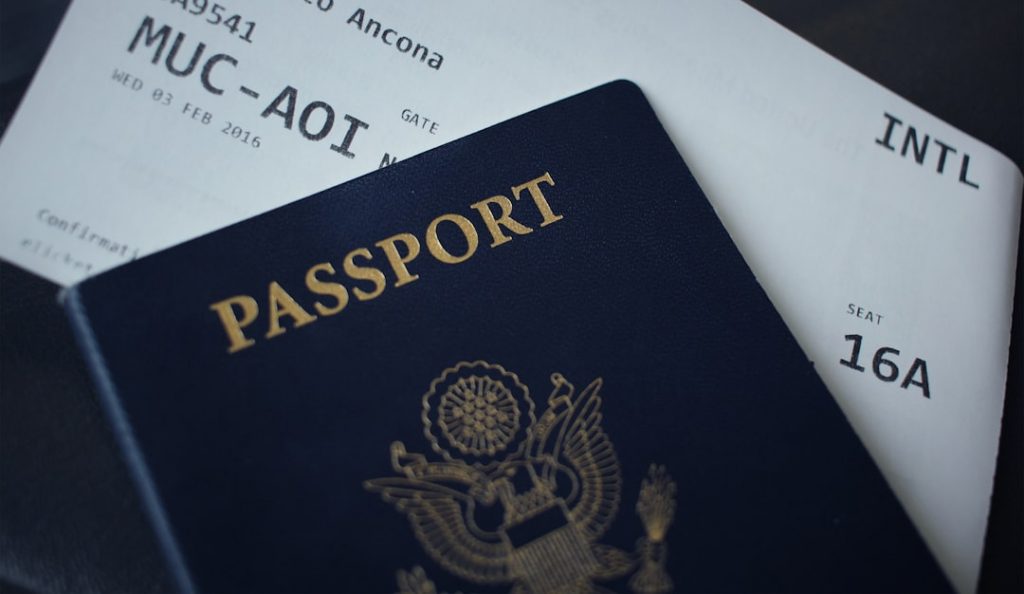
Securing a UK Innovator Visa hinges on more than a brilliant business idea. It’s the details that count—especially when it comes to your passport photo and supporting papers. A single wrinkle on your photo or a missing signature can trigger delays. That’s why a meticulous visa document checklist isn’t optional; it’s essential.
In this guide, you’ll get clear steps, practical tips, and a no-fluff rundown of what to pack and how to pose. We’ll also explore how Torly.ai’s intelligent platform turns your paperwork from a headache into a breeze. Ready to fast-track your application? Use our AI-Powered visa document checklist for Innovator Visa success and breathe easy.
Understanding the UK Innovator Visa Requirements
What Is the Innovator Visa?
Introduced to attract visionary entrepreneurs, the UK Innovator Visa allows you to launch or scale an innovative business. It demands:
– An endorsement from a Home Office-approved body.
– Evidence of innovation, viability, and scalability.
– Proof of personal funds and maintenance.
But there’s a twist: it also needs sleek, error-free documents. No slip-ups.
Why Passport Photos and Documents Matter
Your passport photo is a small slice of your application, but the Home Office takes it seriously:
– Tiny mistakes lead to big delays.
– Non-compliant photos can trigger requests for re-submission.
Pair that with a poorly organised bundle of forms, and you’ll see weeks added to processing times. Instead, use a structured visa document checklist to keep everything on track.
Passport Photo Requirements for Innovator Visa
Photo Specifications
The Home Office photo rules mirror the general UK passport standards:
– Size: 45 mm tall × 35 mm wide.
– Recent (taken within last month).
– Plain, light-coloured background.
– Neutral expression, mouth closed.
Pro tip: Avoid shadows. Get them snapped at a professional photo centre—prices hover around £10–£15 per shot at many local government acceptance centres.
Common Pitfalls and How to Avoid Them
“Why was my photo rejected?” is the most common applicant gripe. The top culprits:
– Angles: Tilting your head scrunches the measurements.
– Shadows: Natural or harsh lighting can cast unwanted lines.
– Background clutter: Mottled walls or furniture.
Fix them by:
– Standing straight, looking directly at the camera.
– Using diffused daylight or a ring light.
– Wearing a simple top that contrasts with the background.
With these checks, your photo sails through on the first try.
Document Checklist Essentials
Core Documents
Your visa document checklist should kick off with:
– Original passport (valid for at least six months).
– Two passport photos meeting the specs above.
– Visa application form (filled accurately).
– Endorsement letter from your approved endorsing body.
– Evidence of funds: bank statements, financial guarantee.
Additional Supporting Evidence
Depending on your circumstances, you might need:
– Business plan highlighting innovation and scalability.
– CV or résumé detailing your entrepreneurial track record.
– Proof of maintenance funds (£945 held for 90 days minimum).
– Any relevant industry licences or certifications.
– Letters of recommendation from industry contacts.
Keep each document in clear plastic sleeves. Label them with sticky tabs. It sounds small, but borderline obsession here saves you from big-time anxiety.
How Torly.ai Simplifies Your Document Prep
Torly.ai isn’t another checklist generator. It’s a complete AI-powered Innovator Visa readiness analyst. Here’s what it does:
-
Business Idea Qualification
Analyses your venture against Home Office innovation criteria. It flags weak spots early. -
Applicant Background Assessment
Evaluates your experience and entrepreneurial skills. Get actionable feedback to strengthen your profile. -
Gap Identification & Action Roadmap
Provides tailored recommendations—think sharper business models, enhanced market research, or better team structure.
With Torly.ai, scribbling over your visa document checklist becomes a relic of the past. You get real-time guidance, custom document templates, and 24/7 AI assistance. No more guesswork.
By integrating deep business analysis with immigration-specific checks, Torly.ai helps you:
– Reduce paperwork time by up to 50%.
– Achieve a 95% success rate on first submissions.
– Meet endorsing body criteria without endless back-and-forth.
Ready for smarter document prep? Access your AI-Powered visa document checklist now and transform your application process.
Tips for a Smooth Appointment at Local Passport Offices
Many local government centres (like your nearest council office) handle UK passport photos and DS-11 applications. Here’s what you need to know:
- Appointment slots: Often full on Tuesday–Thursday mornings. Book early.
- Cost: Passport photos typically £15 each.
- Forms: DS-11 04-2025 (expiry 30-06-2028) is mandatory. Page 1 must be error-free—no white-out or scribbles.
- Processing times:
- Routine: 4–6 weeks (plus local delays).
- Expedited (£60 extra): 2–3 weeks.
Do not mix up DS-82 (renewal) with DS-11 (new/first‐time). Check your visa document checklist for which form suits you. And carry:
– A printout of the confirmation email for your appointment.
– Payment for fees (credit, debit, or cash depending on the centre).
Following these pointers reduces stress and keeps your application on schedule.
Final Checks Before Submission
Reviewing Your visa document checklist
Before posting your application, run through every item:
– Are your photos exactly 45 × 35 mm?
– Does your passport have six months’ validity?
– Are all forms fully signed and dated?
– Have you included the enforcement letter and bank statements?
If any line is unchecked, you risk a rejection or formal request for more information. A quick peer review—having a colleague scan your packet—works wonders.
Digital Submissions and Hard Copies
Most Innovator Visa applications happen online, but you still need to post physical proof:
– Use a tracked courier service.
– Keep copies (scanned and printed) of every document.
– Label each envelope clearly: “Sponsor” vs “Applicant” vs “Supporting Documents.”
A final water-tight step: photograph your complete, sealed parcel. It’s your insurance if anything goes awry.
Testimonials
“I was drowning in paperwork until Torly.ai’s visa document checklist pin-pointed every missing piece. The real-time feedback was a lifesaver.”
— Aisha Patel, Tech Founder
“Their AI flagged a gap in my business plan I never saw. Thanks to the action roadmap, my endorsement came through in weeks.”
— James O’Connell, HealthTech Entrepreneur
“I breezed through my appointment at the local passport office. The DS-11 form was perfect first time, and those photos? Spot on.”
— Maria Lopez, Sustainable Energy Innovator
Conclusion
A flawless passport photo and a bulletproof set of documents are non-negotiable for Innovator Visa success. With the right visa document checklist, you avoid costly delays, satisfy Home Office demands, and focus on what truly matters—your business vision.
Why go it alone? Let Torly.ai’s AI-driven platform manage the details so you can get on with innovating. Start with our AI-Powered visa document checklist today. Good luck — we can’t wait to see your enterprise thrive!